Visualizing the trajectories with VMD
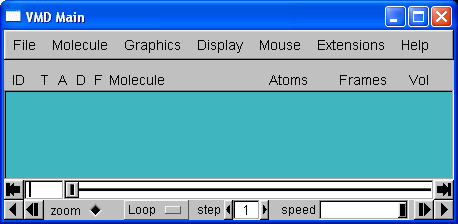
To start VMD type vmd on the command line of your shell (Unix), or start it by clicking the VMD icon in your desktop or Start menu (Apple MacOS X and Microsoft Windows). VMD should start up with a window titled vmd console, a display window entitled VMD OpenGL Display, and a main menu entitled VMD or VMD Main.
To load a new molecule, select New Molecule... from the File menu in the main form,

7
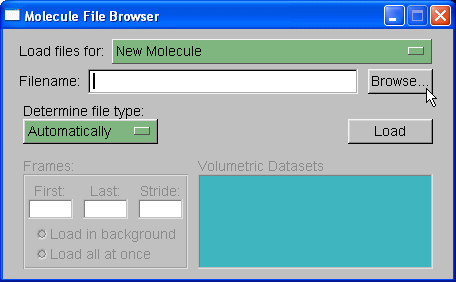
We will load out protein molecule using topology and coordinate files we created with Xleap. So, start by selecting Browse and finding the 1cgh-no-inhib.top file. Then under the heading where it states "Determine file type:" select parm7.
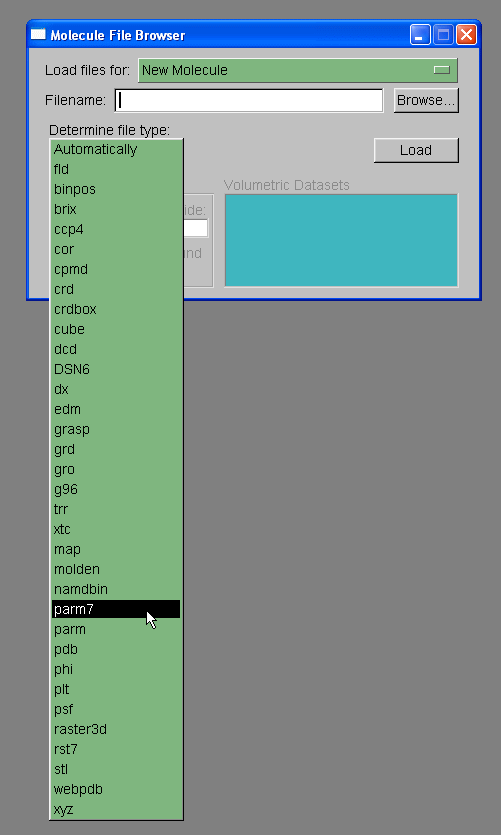
Note: VMD has two definitions for prmtop files, 'parm' and 'parm7'. The 'parm' refers to prmtop files for AMBER versions of 6 and lower. The prmtop format changed slightly between amber 6 and amber 7, largely to allow bigger molecules, so that the parm7 option is required for AMBER v7, v8, and v9 prmtop files.
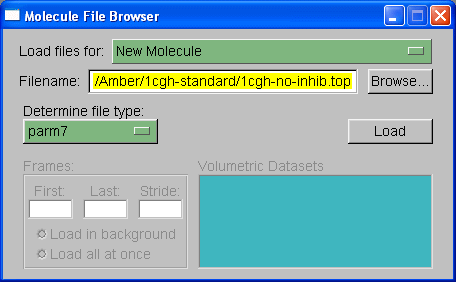
Then hit 'Load'.
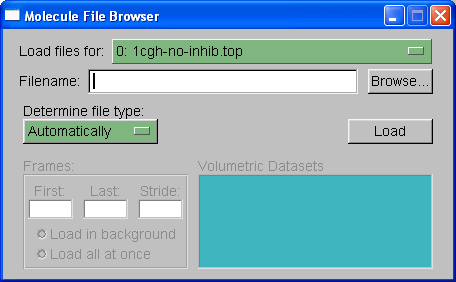
Next we need to choose which trajectory to load, in this case we will load the trajectory file 1cgh-md.mdcrd. Select browse again, browse for the file and then under 'determine file type' you need to select "crd". Note: if this were a periodic boundary simulation then we would select "crdbox" since the trajectory file would also contain information on the box size. In this situation, however, there is no box information since this is a non-periodic in vacuo simulation. When you hit "Load" again you should see all of the frames loaded into the main molecule window.
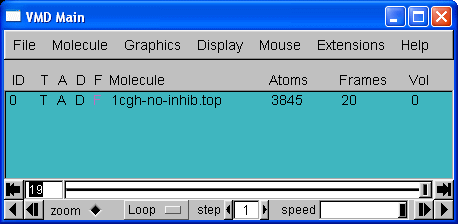
20 frames in total. We can now use the playback tools in the "VMD main" control panel to play our movie:
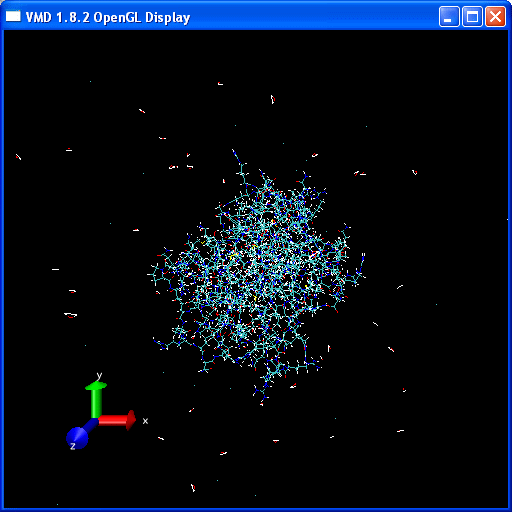
You should have a go at playing the video of the trajectory. Notice how the protein holds its structure there is considerable movement in the extremities but the overall structure is preserved. However, water molecules and some counter-ions flee away from the protein.