Download and install NetBeans.
Start NetBeans and select "File"->"New Project" in the Menu bar.
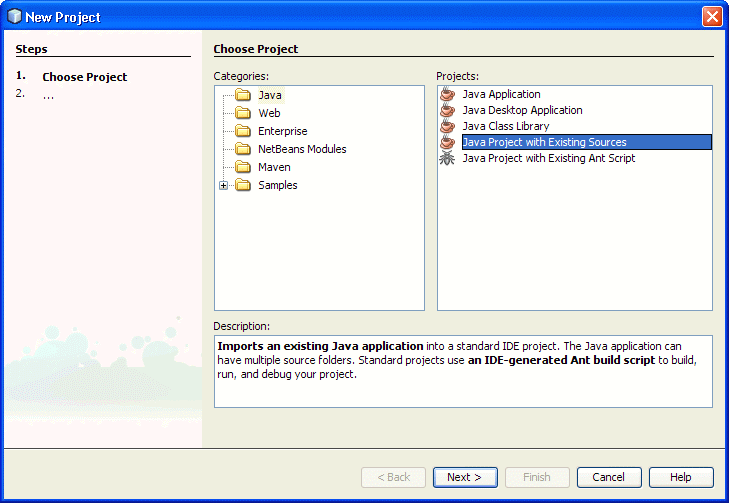
During step 1 (Choose Project) select "Java" in the "Categories" listbox and "Java Project with Existing Sources" in the "Projects" listbox. Press Next button.

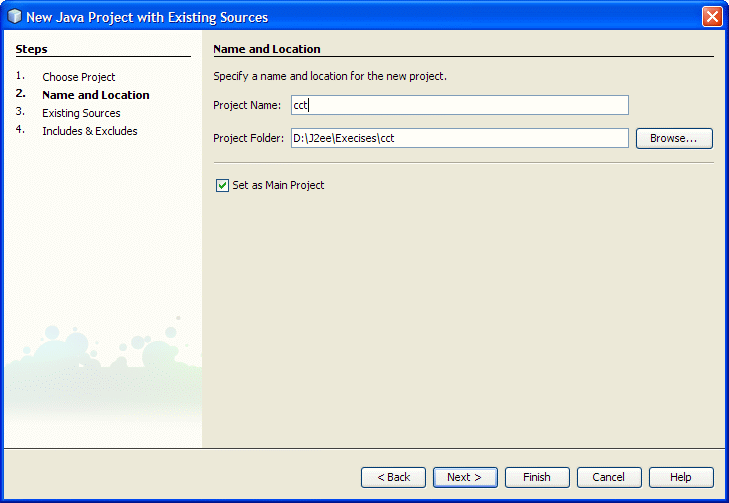
Select name and location of a project and press Next button
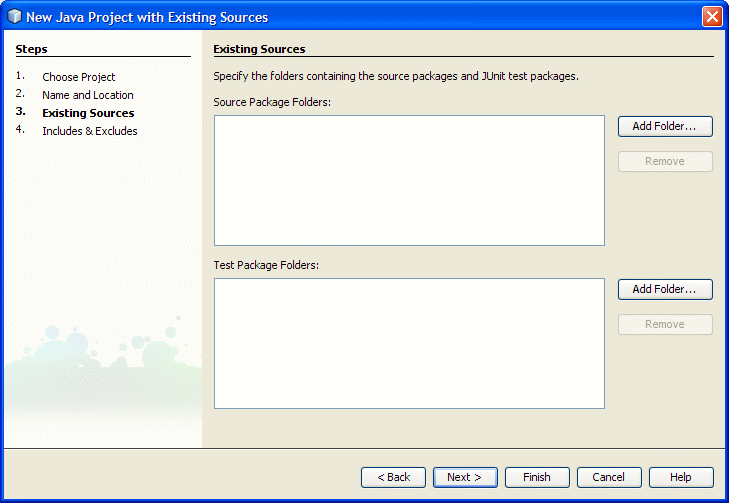
Now you need to select a directory containing the source code. Press "Add Folder..." button
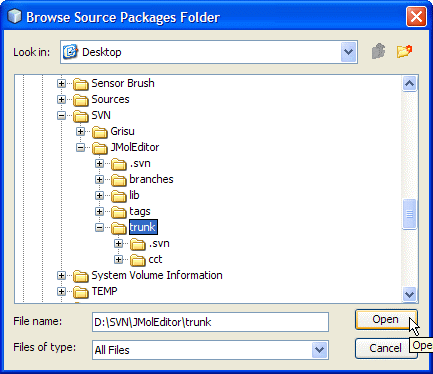
and select a directory. Press "Open" button.
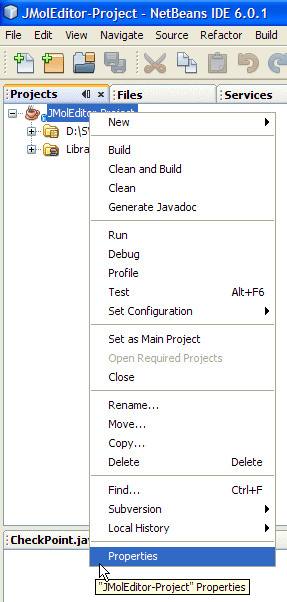
You need to setup properties for the project. Right click your project node and select Properties.
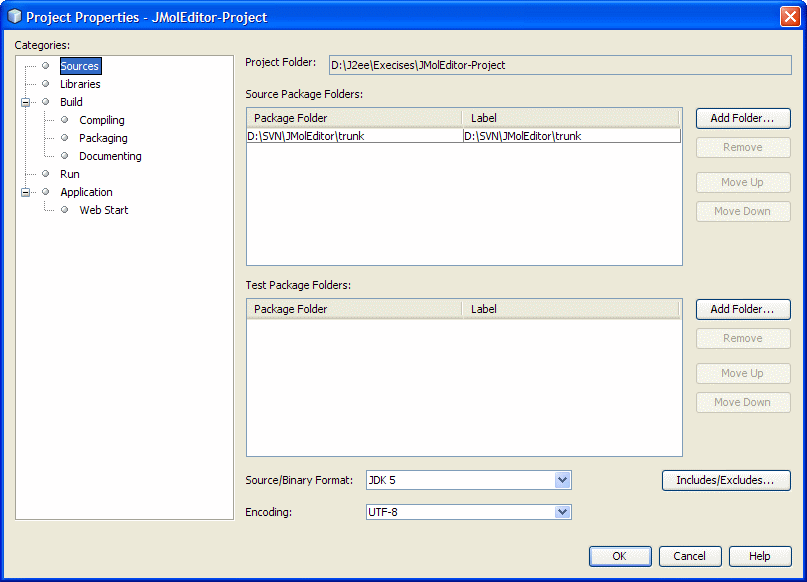
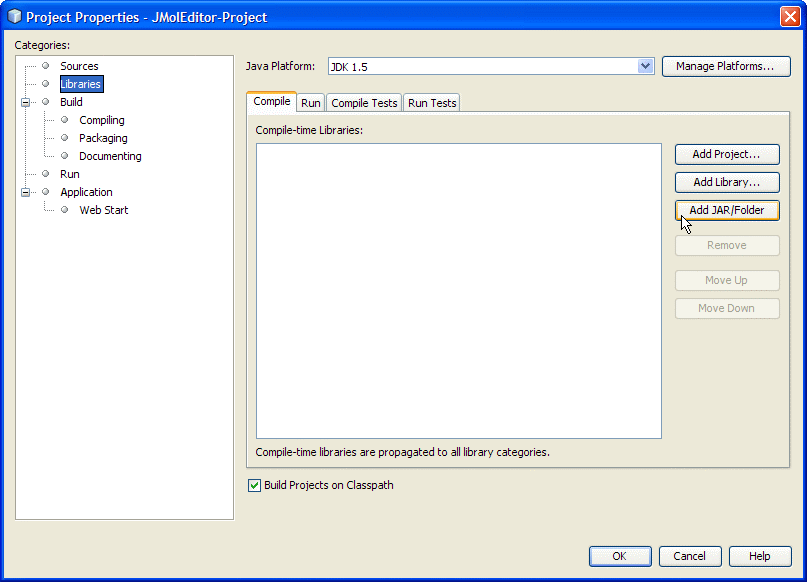
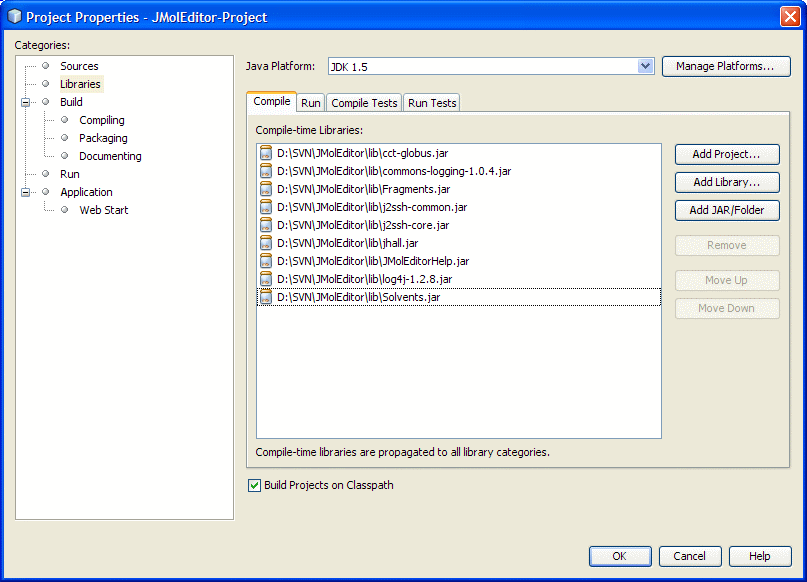
To setup libraries select "Libraries" node and press "Add JAR/Folder" button
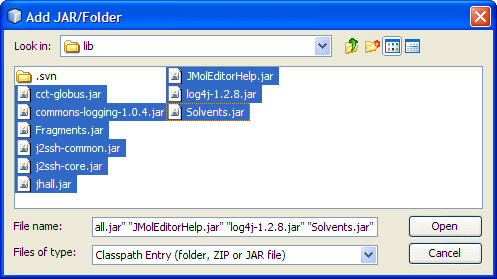
Select all JAR files from the lib directory of the SVN distribution and press "Open" button
We assume that java3d JARs are in the CLASSPATH.
JMolEditorHelp.jar could be omitted (in-built help functions will be automatically disabled)
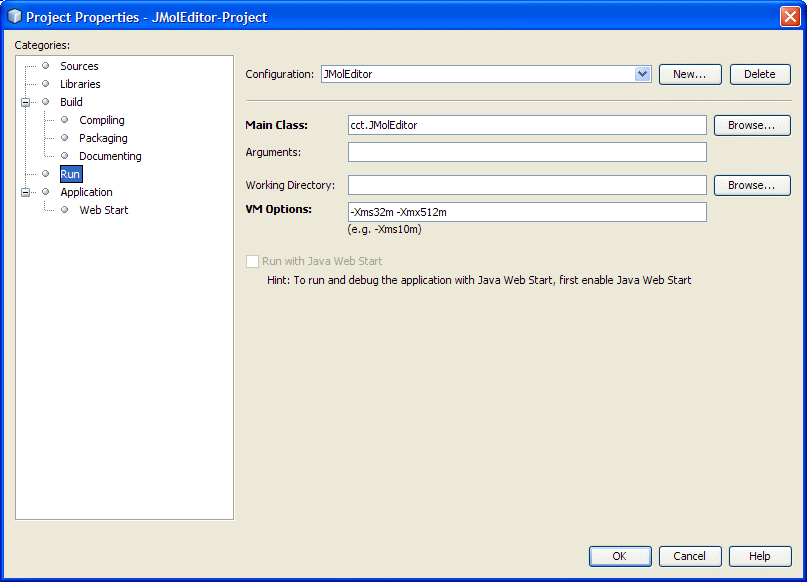
Select "Run" node and type cct.JMolEditor in the "Main Class" textfield. Also, it is recommended to setup VM Options to -Xmx512m
Send all questions, suggestions and comments to Vlad (vvv900@gmail.com)
Dr. Vladislav Vasilyev
Supercomputer Facility,
The Australian National University,
Canberra, ACT, 0200, Australia
[Home] [Applications] [Applets] [API] [E-mail me]